380W LED/UV Nail Lamp: Smart Sensor, Faster Gel Cures
380W LED/UV Nail Lamp Dryer with Smart Sensor & Fast Gel Curing: What It’s Built to Do
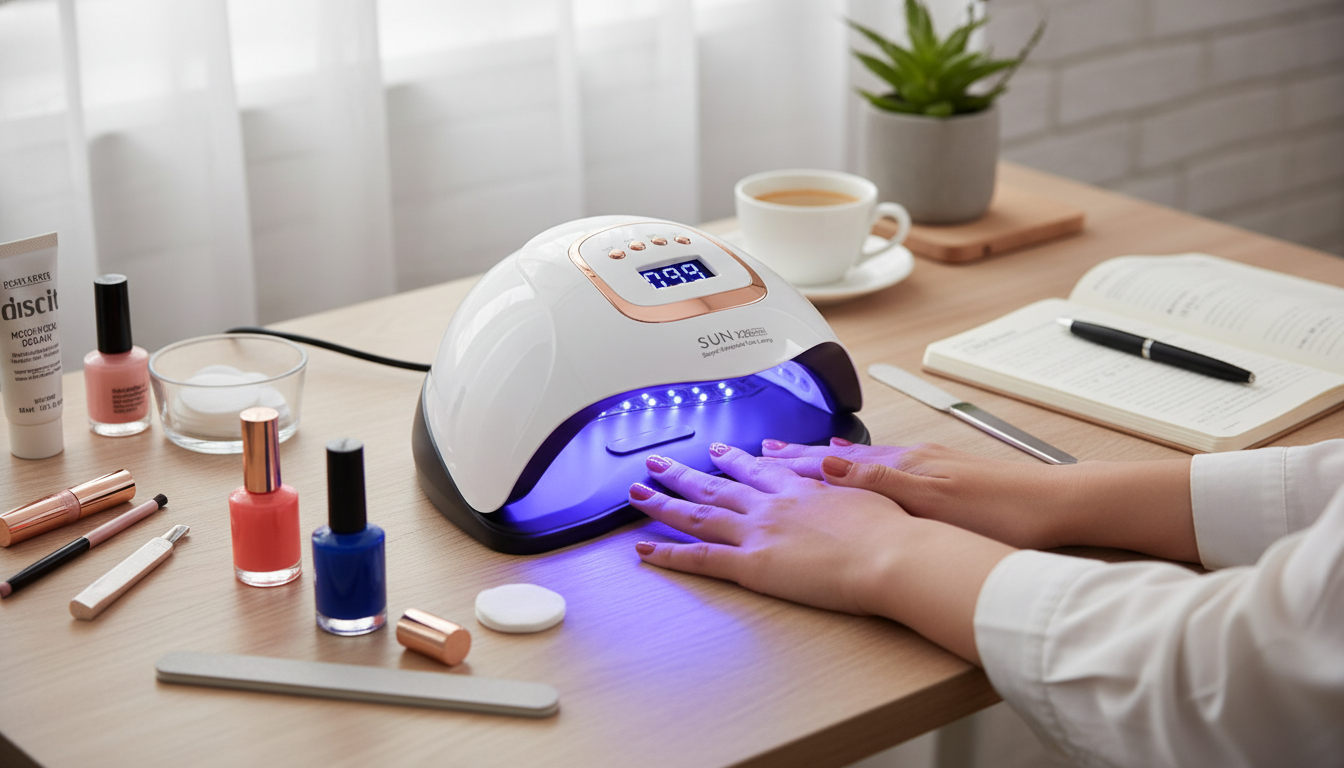
A high-power LED/UV nail lamp can make gel manicures feel faster and more repeatable at home—especially when features like an automatic sensor and multiple timer modes take the guesswork out of curing. A 380W lamp is designed to push curing performance so layers set more evenly, helping reduce common issues like dents, smudges, and premature lifting that often trace back to under-curing or inconsistent timing. Below is a practical guide to what this type of lamp helps with, how to use it smoothly, and what to check for safer, more reliable results. For more guidance, see 15 Best UV Nail Lamps, Tested & Reviewed in 2026 – ELLE.
What this nail lamp is designed to solve
Gel manicures look their best when each layer cures the way the formula expects. A high-output LED/UV lamp is primarily meant to speed up and stabilize that process. For further reading, see The Best UV Nail Lamps for Salon-Quality Results Every Time – Vogue.
- Faster curing to reduce mishaps: Quicker set times can help prevent smudges, dents, and “soft spots” that lead to early lifting.
- Hands-free convenience: The auto sensor starts the lamp when a hand or foot enters and stops when it exits, so you’re not pressing buttons with tacky product.
- More consistent timing: Consistent cures across base, color, and top coats can make wear more predictable and reduce random dullness or chipping.
- Supports real gel workflows: Useful for quick flash-cure moments (to keep a design from shifting) and full cures using timed settings.
Key features that matter during real manicures
Specs only matter if they improve the day-to-day experience. These are the features most likely to impact results when you’re actually doing a set at home.
- 380W power output: Intended to deliver faster curing across many gel types, especially when you keep layers thin and even.
- Smart sensor activation: Helps you start curing immediately after placing your hand inside—handy when you’re trying not to bump fresh product.
- Multiple timer options: Different gels (and different layer thicknesses) often need different cure times, so timers help standardize your routine.
- LED/UV curing approach: Built to work with many LED- and UV-curable gel formulas, though exact compatibility still depends on the gel brand’s requirements.
- Roomy curing space: Easier to position a full hand flat; curing thumbs separately can help prevent side-wall flooding and shadowing.
How the smart sensor improves consistency
The “smart sensor” feature sounds simple, but it can make a noticeable difference in how evenly gel cures—especially when you’re working quickly.
- Auto-on reduces delays: The lamp begins curing as soon as your hand enters, helping avoid the few seconds of waiting that can lead to wrinkling or uneven set on some formulas.
- Auto-off limits extra exposure: When you pull your hand out, the lamp stops—reducing unnecessary exposure time and helping manage heat buildup.
- Works well with thin layers: Quick in-and-out “flash cures” can stabilize a layer, followed by a full timed cure for strength and longevity.
- Useful for pedicures: Repositioning toes is common, and the sensor helps keep timing consistent even when your hands are occupied.
Choosing timer settings by gel type and layer thickness
Cure time is never one-size-fits-all. Your gel brand’s directions should be the final word, but layer thickness and product type typically drive how long you need under the lamp. If the surface feels cured but the underside stays soft, reduce thickness and extend cure time rather than adding more product.
Practical curing cheat sheet (general guidance; always follow gel brand directions)
| Gel step | Thin layer (typical) | Thicker layer / builder (typical) | Notes |
|---|---|---|---|
| Base coat | 30–60 seconds | 60 seconds | Prep and dehydration matter as much as lamp time |
| Color coat | 60 seconds | 60–90 seconds | Two thin coats help prevent wrinkling |
| Top coat | 60–90 seconds | 90 seconds | Full cure improves wear and shine |
| Builder / sculpting gel | — | 90–120 seconds | Cure thumbs separately to reduce pooling and shadows |
Comfort and safer use habits
LED/UV lamps are common in salons and at-home routines, but smart habits help keep the experience more comfortable and reduce preventable issues.
For additional safety context, see the guidance from the U.S. Food & Drug Administration (FDA) on UV nail lamps and the American Academy of Dermatology Association’s gel manicure tips.
Step-by-step routine for reliable results
Care, cleaning, and long-term performance
When results are off: quick troubleshooting
Shop in-stock picks
- 380W LED UV Nail Lamp Dryer with Smart Sensor & Fast Gel Curing
- Elegant PU Leather Journal Notebook with Thick Soft Cover & Elastic Strap
- Elegant Vintage Gold Textured Square Stud Earrings for Women
FAQ
Does an LED/UV nail lamp work with all gel polishes?
Not always. Compatibility depends on the gel’s photoinitiators and the lamp’s wavelength output, so some brand systems specify the exact lamp type and cure times needed for a full cure.
Why does gel feel hot during curing?
The heat spike is commonly caused by polymerization, and it’s more noticeable with thicker products like builder gels. Using thinner layers and flash curing in short bursts before a full cure can improve comfort.
How long should gel cure under a high-power lamp?
Many steps fall in the 30–120 second range depending on the product and thickness, but the gel manufacturer’s directions should guide your final timing. If you see wrinkling or lingering softness, reduce layer thickness and adjust cure time accordingly.


Leave a comment